
Are these boxes super cute or what? You have to give it to Martha Stewart, she has a creative mind like no other. These boxes are decorative and gorgeous. They are sure to impress your guest. Especially when you tell them you made them yourself!
Pyramid Box
1. Enlarge the template, trace it onto paper, and cut it out. Make slits as marked with a utility knife. Using a bone folder, score the paper on the dotted lines.
2. Fold up all four flaps, forming a pyramid. Cut two pieces of ribbon, each one long enough to wrap around the box. Starting on what will be the inside of the box, slip one ribbon through a slit, wrap around outside, and slip through opposite side. Pull ribbon so two sides come together; tie. Thread second ribbon through remaining two sides, wrapping around outside; pull ends together, and tie. Tuck excess ribbon into box.
Pyramid Box PDF
“Kiss” Box
1. Enlarge the template, and trace it onto paper. Working just outside the lines, cut out the shape with paper edgers of your choice. Punch holes through ends of flaps as marked. Using a bone folder, score paper on the dotted lines.
2. Fold up all flaps. Cut ribbon a little bit longer than the diameter of the bottom of box; thread it through all the holes. Cinch two ends of the ribbon until sides close the “kiss.” Tie a bow.
“Kiss” Box PDF
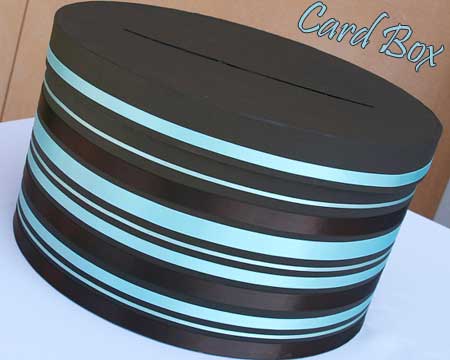
Long Box
1. Enlarge the template, and trace it onto paper. Cut out the left and right flaps with scissors. Using paper edgers of your choice, cut the top and bottom flaps just outside the lines. Punch holes in all four flaps as marked. Using a bone folder, score the bottom on the dotted lines.
2. Fold in the left and right flaps. Slide a short length of silk ribbon through the two holes, and tie the two sides closed. Fold top and bottom flaps in; tie with a second piece of silk ribbon. Finish with a bow and a little paper “button” or tag.
Long Box PDF
Pictures and Directions from Martha Stewart.com


